There’s Nothing Worse Than a Misaligned Seam
You’ve spent time on the perfect wrap design. Your engraving looks great—until you spin the cup and find the ends of the design don’t line up. 😩
In this post, I’m breaking down how I ensure flawless seam alignment every single time. These aren’t guesses—this is my actual workflow.
🔧 Step 1: Square Your Rotary to the Laser
If your rotary isn’t square to the gantry, your wrap will never line up, no matter how precise your measurements are.
Quick tip:
Use a measuring tape, ruler or even a piece of (wood cut to size) to verify both ends of the rotary are parallel with the laser bed. Even being a couple degrees off will throw the seam. I went as far as to 3D print a tool that helps me out.
📏 Step 2: Measure Your Circumference Accurately
Don’t eyeball it.
-
Use a flexible tailor’s tape to measure the exact circumference of your tumbler.

-
Pro Tip: Invest in a digital caliper. It’s ideal for measuring the tumbler’s diameter precisely. Multiply diameter × π (3.1416) to calculate the circumference with pinpoint accuracy—especially useful for cups that taper slightly or when you need to verify multiple sizes. (I just use the rotary setting screen to calculate this for me).
-
Avoid metal rulers—They lie on curves.
-
Note: Not all brands and sizes are created equal—measure each cup style independently.
🎯 Step 3: Know Your Rotary’s Steps Per Rotation (SPR)
Understanding your steps per rotation means you know how far your laser will travel for a full 360° rotation.
If your SPR is off, your design will “overlap” or “fall short” at the seam.
(Need help figuring out your exact number? Check out my full blog post on dialing in your rotary's steps per rotation (SPR) for a seamless wrap.)
🖥️ Step 4: Use LightBurn’s Layout Strategy
In LightBurn:
-
Draw a large rectangle representing the entire engraving area of the tumbler (height x circumference).
-
Place small alignment rectangles on the left and right edge.
-
This makes it easy to test the alignment before committing to the full job.
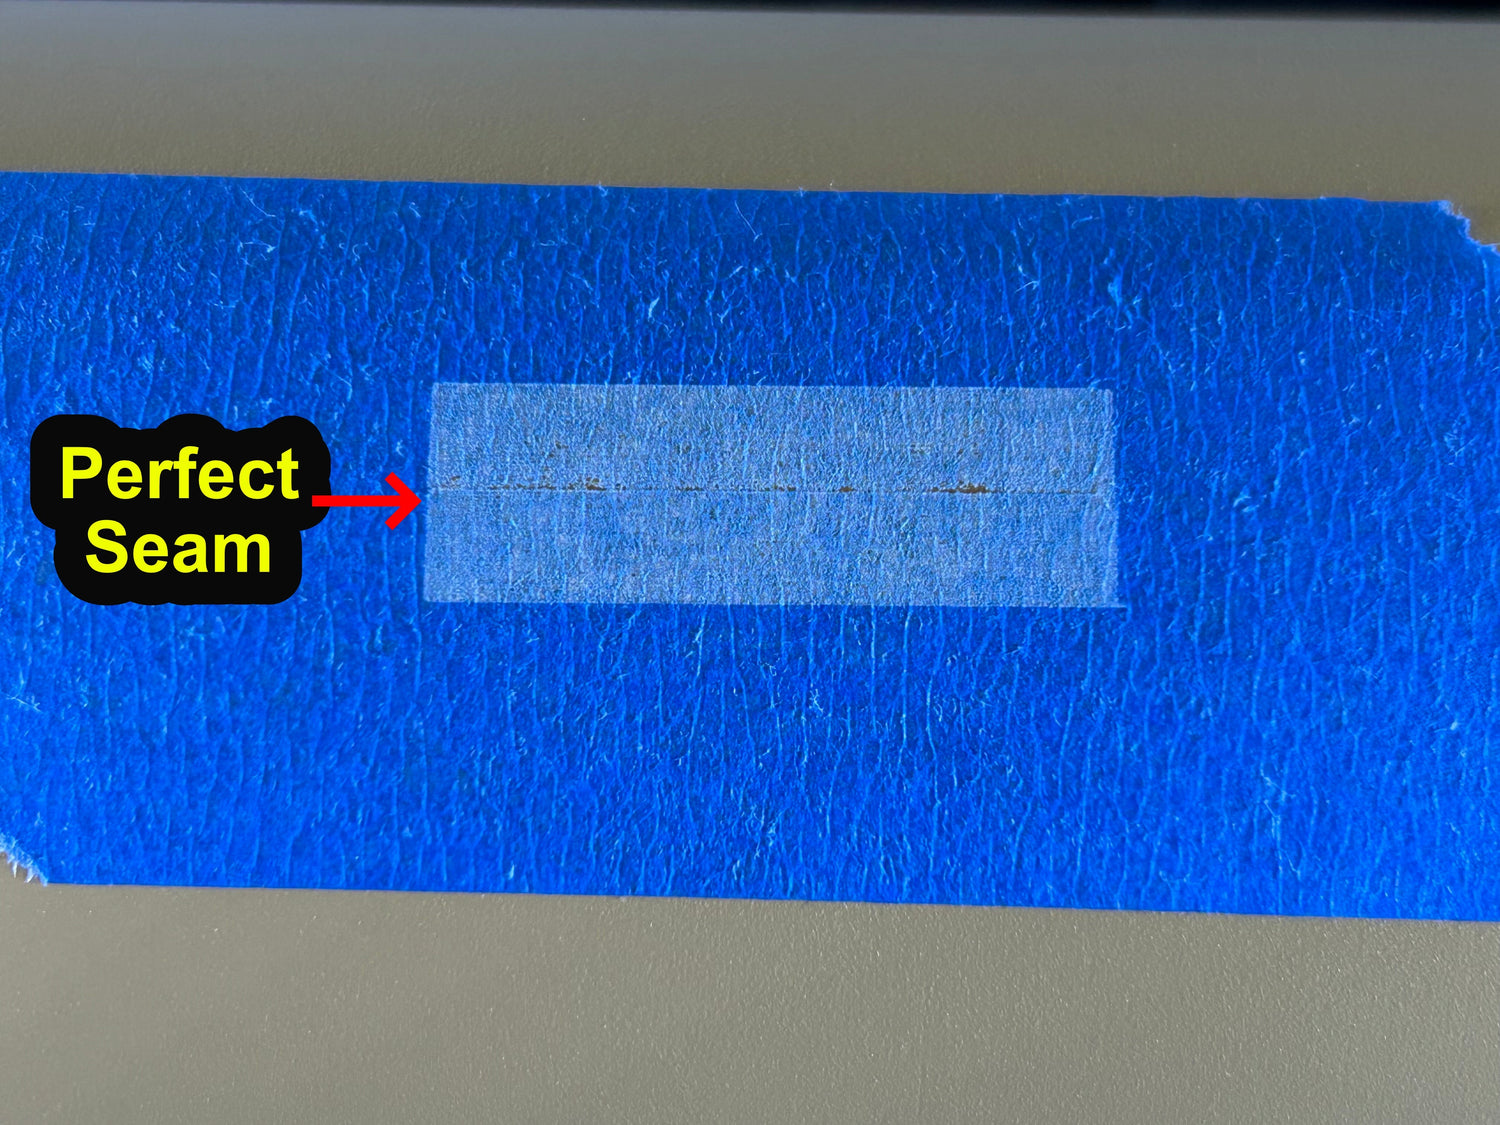
I run the two blue rectangles on the tape, then rotate the cup to ensure the test marks meet. If they’re off even slightly, I adjust the design width and test again.
🟦 Step 5: Blue Painter’s Tape Is Your Best Friend
Before running the actual job:
-
Place a strip of blue painter’s tape where the seam would be.
-
Engrave the rectangles on the tape only. (this will require test engraving on painters tape first)
-
Rotate the tumbler and check alignment where the tape meets.
This quick step saves you from wasting time (and product) if things don’t line up. I use this method every time I engrave a tumbler that will have a seem.
💡 Bonus Tip: Perfect Doesn’t Happen by Accident
Sometimes it takes a couple of iterations to dial it in, but once your system is set, it becomes repeatable. I keep a whiteboard in my shop with the measurements for every cup diameter, so I don’t have to recheck them each time.
Final Thoughts
Achieving a perfect seam is a skill engravers can master with the right tools and workflow. By taking the time to test, measure, and verify, you’ll save yourself a ton of rework—and deliver a flawless product every time.


